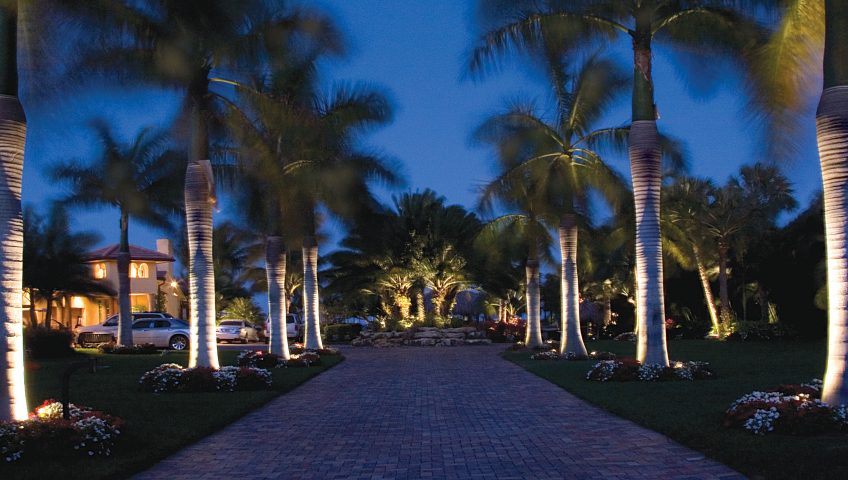
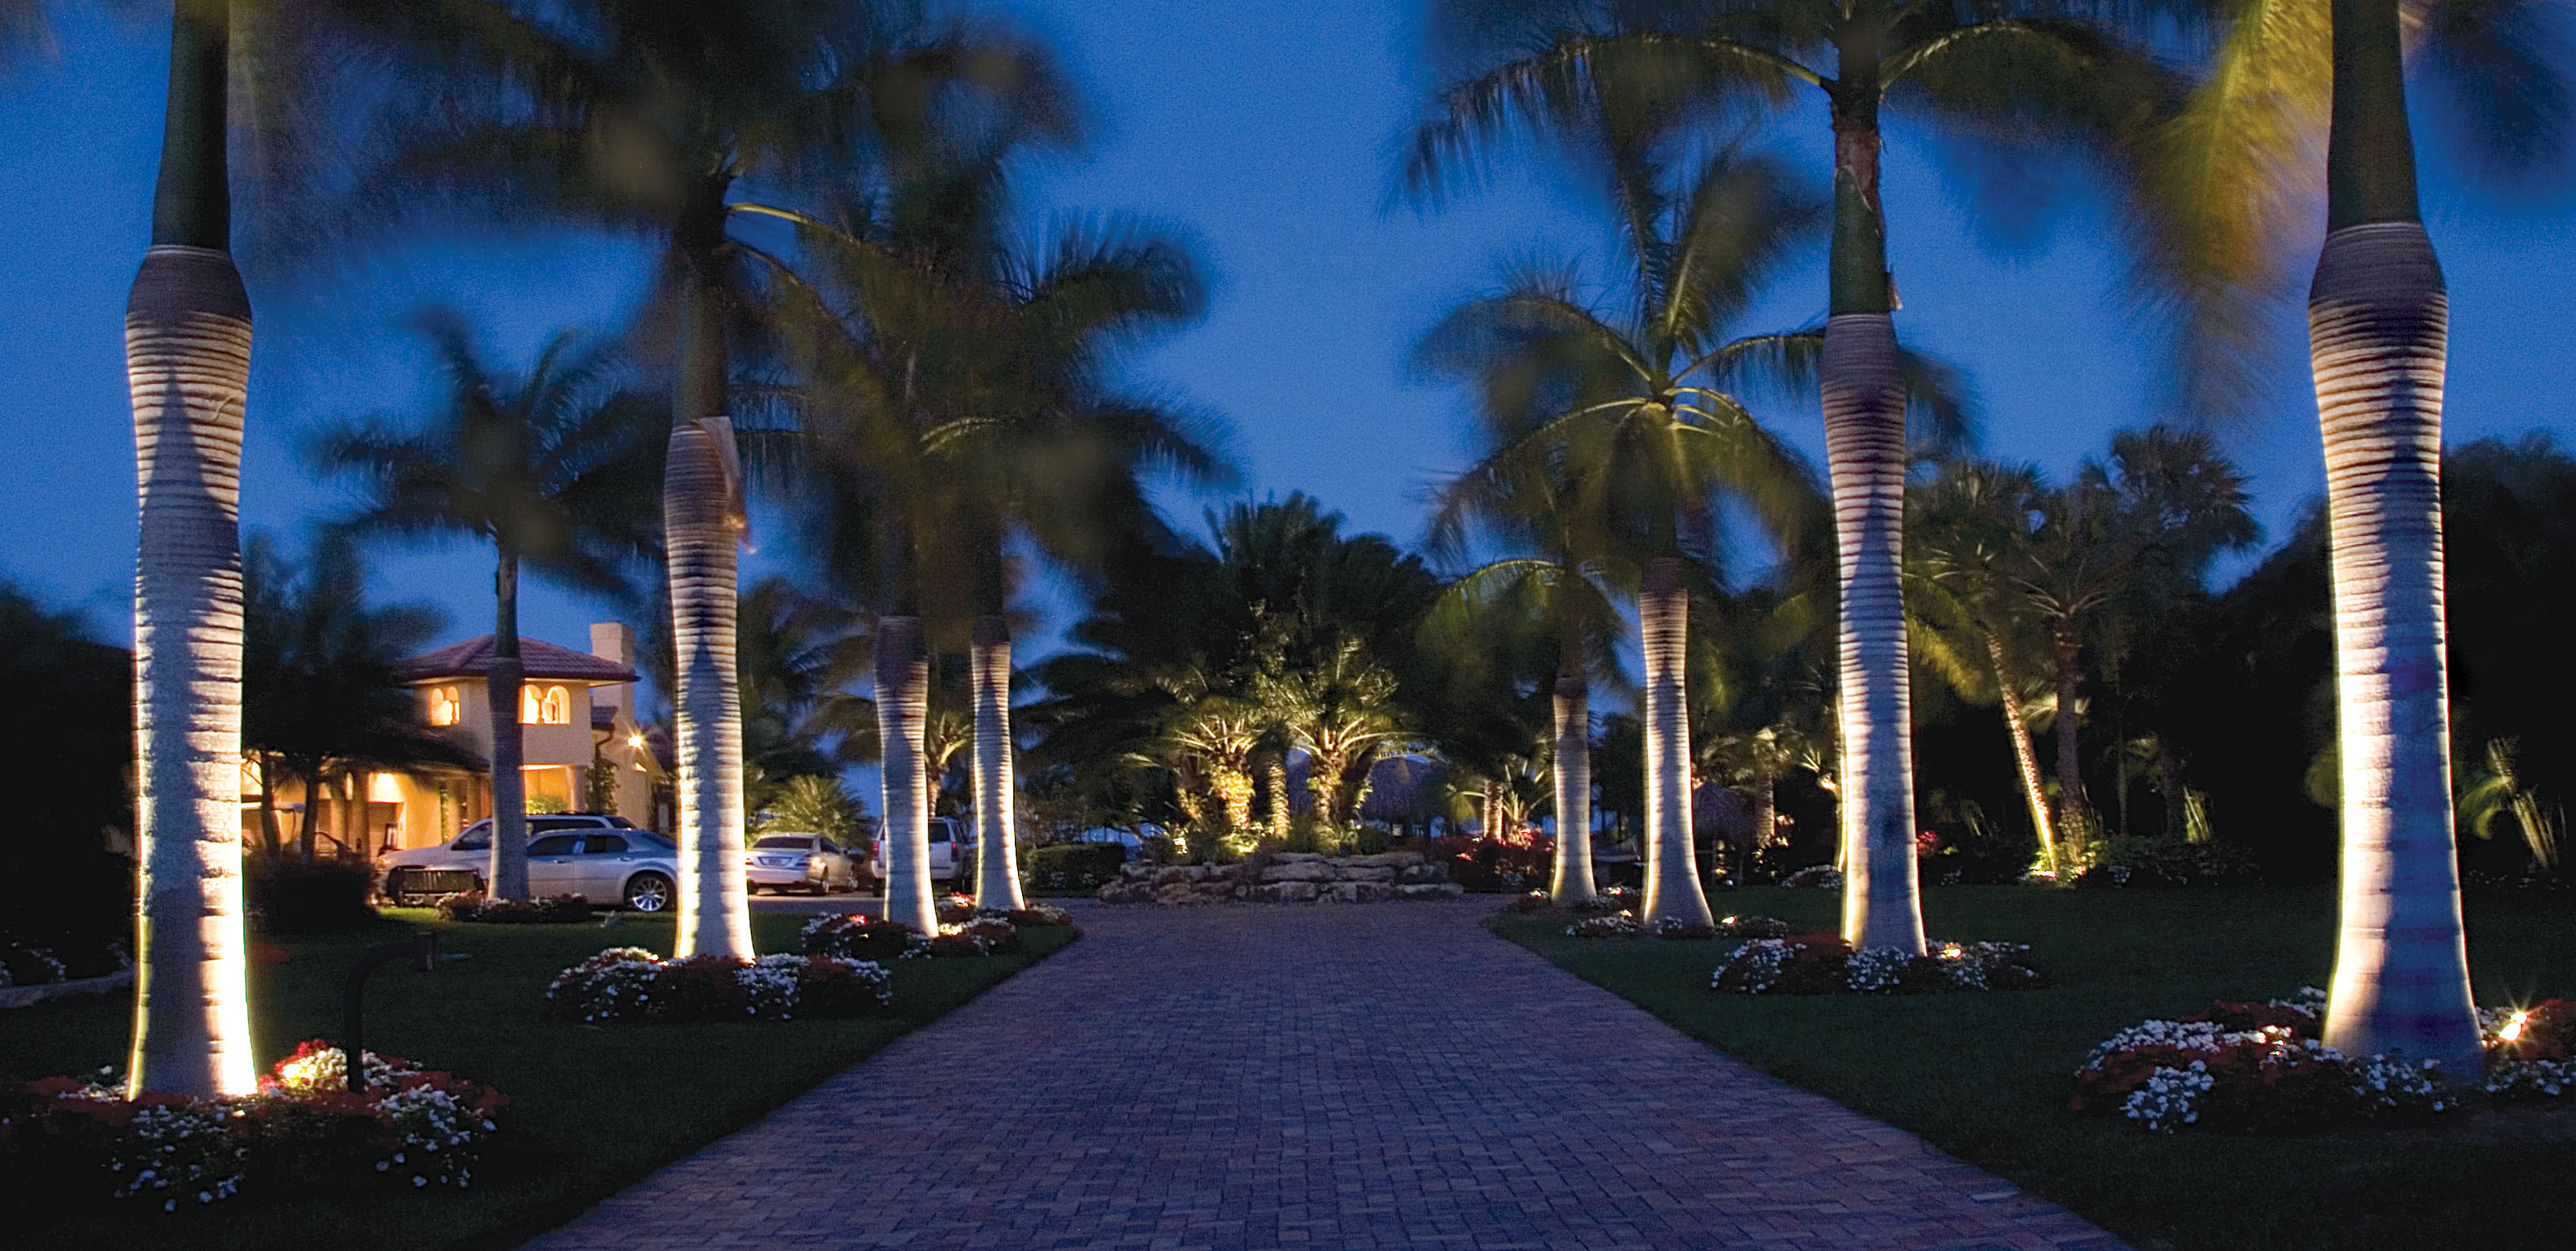
The Royal palms in the foreground are lit with two 35 watt fixtures with 35 degree beam spreads each, while the Reclinata palm in the driveway island is covered by five 20 watt, 60 degree fixtures. The “art deco strip” effect on the Royals requires fixtures placed extremely close to the trunks. As a result, the buried wiring runs perpendicular to the driveway on either side of the palm before turning to parallel the driveway toward the hub connecting it and the neighboring palm. This “L” pathway minimizes entrapment in palm roots. |
|
||
|
Steve Middleton is the owner/operator of Treasure Coast Landscape Lighting, and has been in the industry for six years. He estimates he’s put 6,000 fixtures in the ground in jobs ranging from 10 to 170 fixtures, primarily lighting palm trees. So LCN decided to speak with him regarding the unique installation challenges these trees create. First off, it’s worth reviewing the lighting goals that guide installation procedures. Obviously, both the trunk and canopy need to be lit. However, several techniques can be used to go beyond simply lighting the tree.
Routing wires along the quickest path possible away from the palm’s root system isn’t the only installation quirk to wiring palms. Another trick recommended by landscape lighting contractor Steve Middleton is to leave additional wiring (if 10 feet is needed, install 15 feet) at the fixture, thereby allowing slack for fixture movement to accommodate later growth. Also, sheathing the wire in conduit protects it from being entangled by roots (no more slack) or cut while hacking fixtures from the root system. All Graphics Courtesy Cast Lighting, Lighting Designs by Steve Middleton of Treasure Coast Landscape Lighting TrunkWhen lighting palms that are either painted or have a smoother trunk, one can create what Middleton describes as an “art deco” stripe bisecting the tree vertically. Particularly on Royal palms, the stripe can end in a distinct point. This is done by placing lights very close to and on opposite sides of the trunk. Moving the lights away from the tree narrows the stripe, while moving lights closer fattens it. Rotating them around a horizontal plane centered on the trunk shifts the stripe to the left or right on the trunk to adjust for various viewing perspectives. A possible effect on palms with very distinct thatch-work is to use each protrusion to create a small shadow above it. This results in an appealing contrasting light and shadow effect on the palm. Once again, the key to this effect is to place the fixture very close to the trunk and up light it. Multiple fixtures may be needed depending if the tree is expected to be viewed “in the round” (from a full 360 degrees) or from only one side.
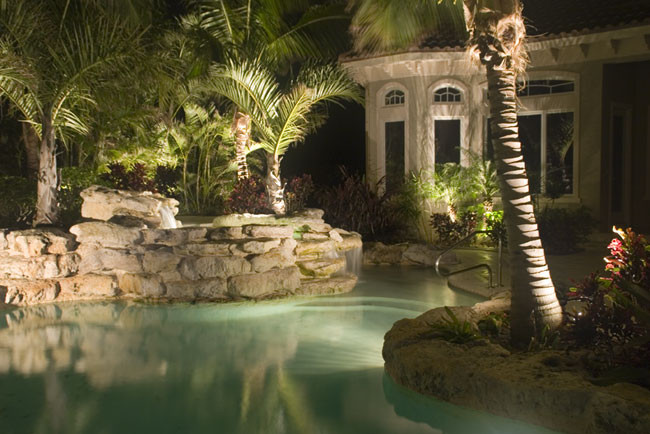
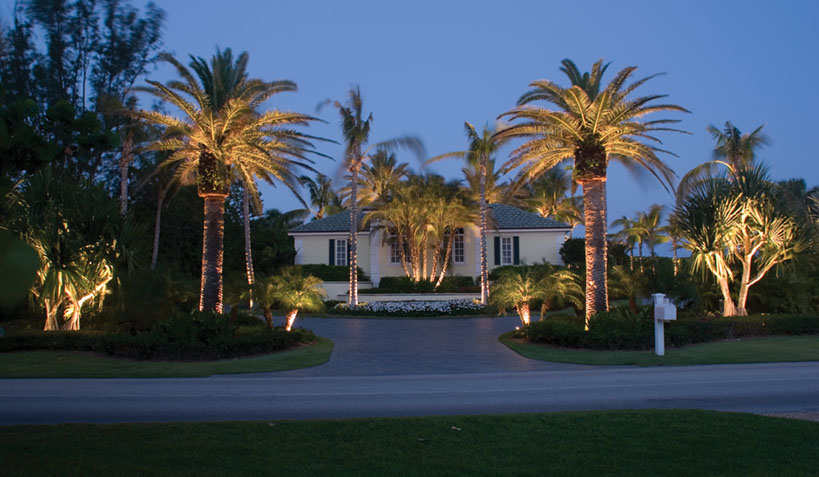
This image demonstrates the challenges inherent in installing the right fixture for various palm species. The Roebelenii palm in the foreground at left received two 20 watt, 60 degree fixtures to account for the short trunk (lower wattage) and wide fronds relative to height (wide beam spread). The Coconut palm behind and to the right received a 50 watt, 24 degree fixture to account for its height (higher wattage) and narrow fronds relative to height (narrow beam spread). The tree in the middle (some variety of date palm according to Middleton) received two 35 watt 36 degree luminaries.
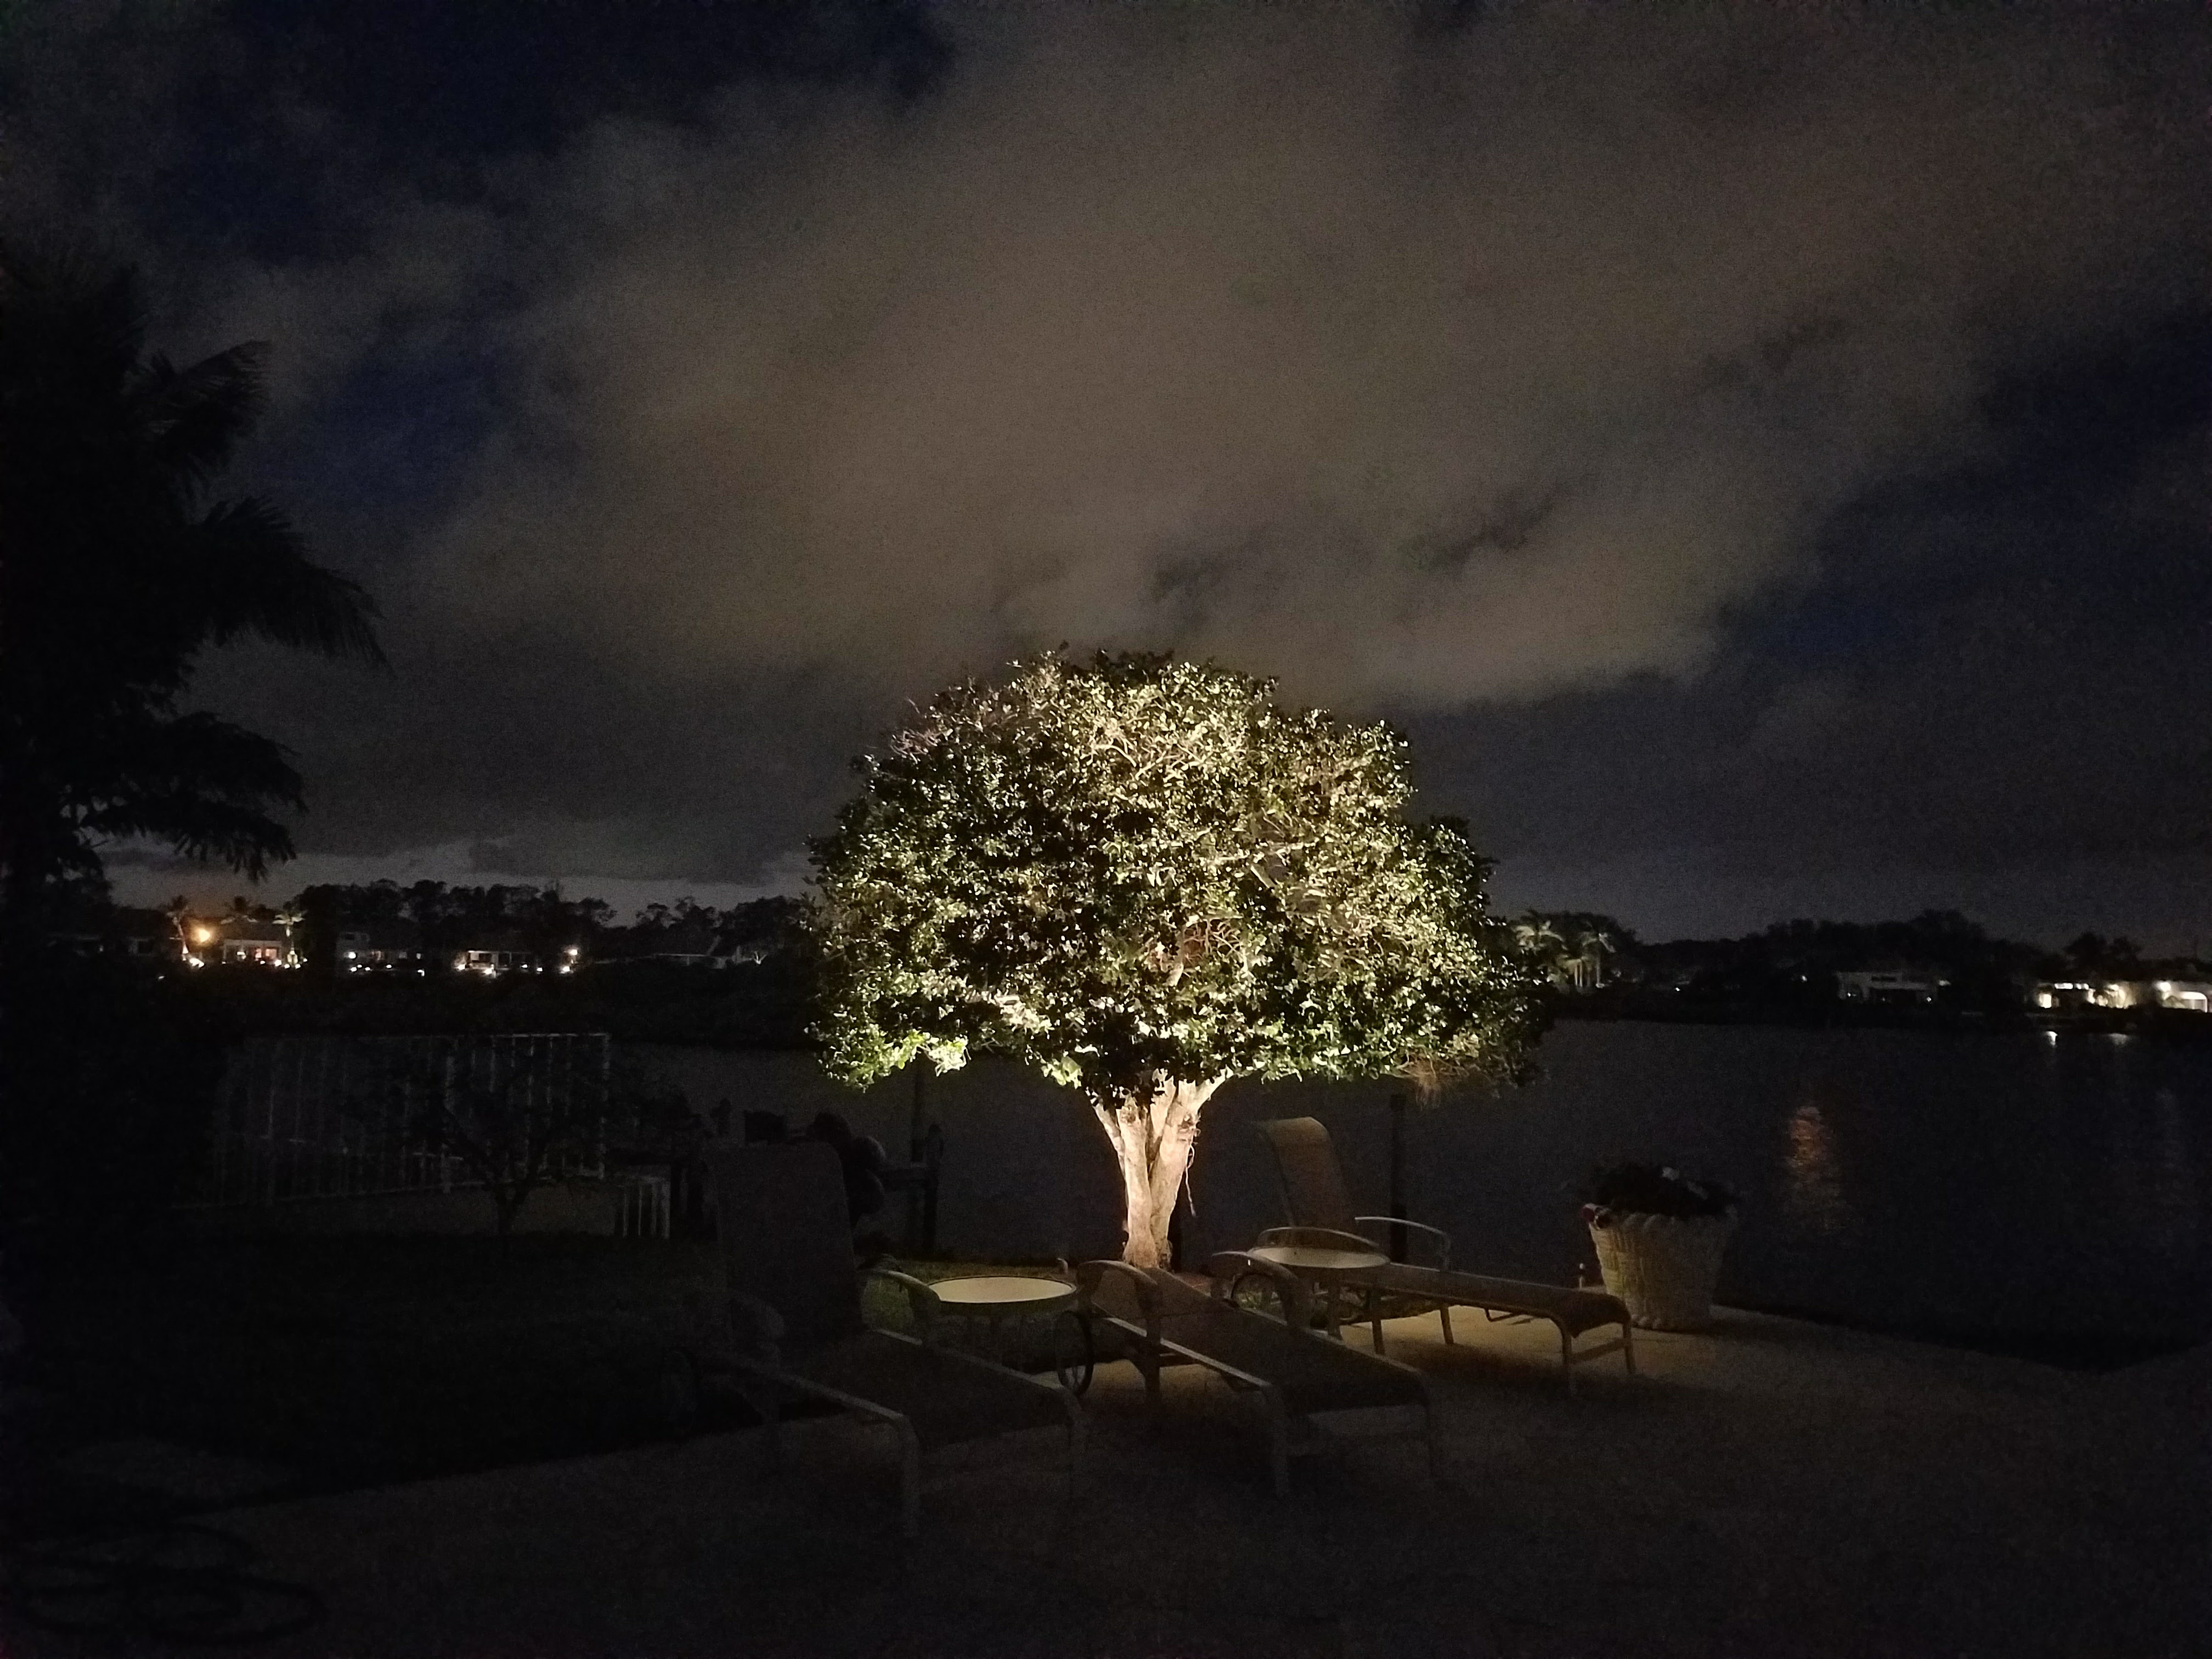
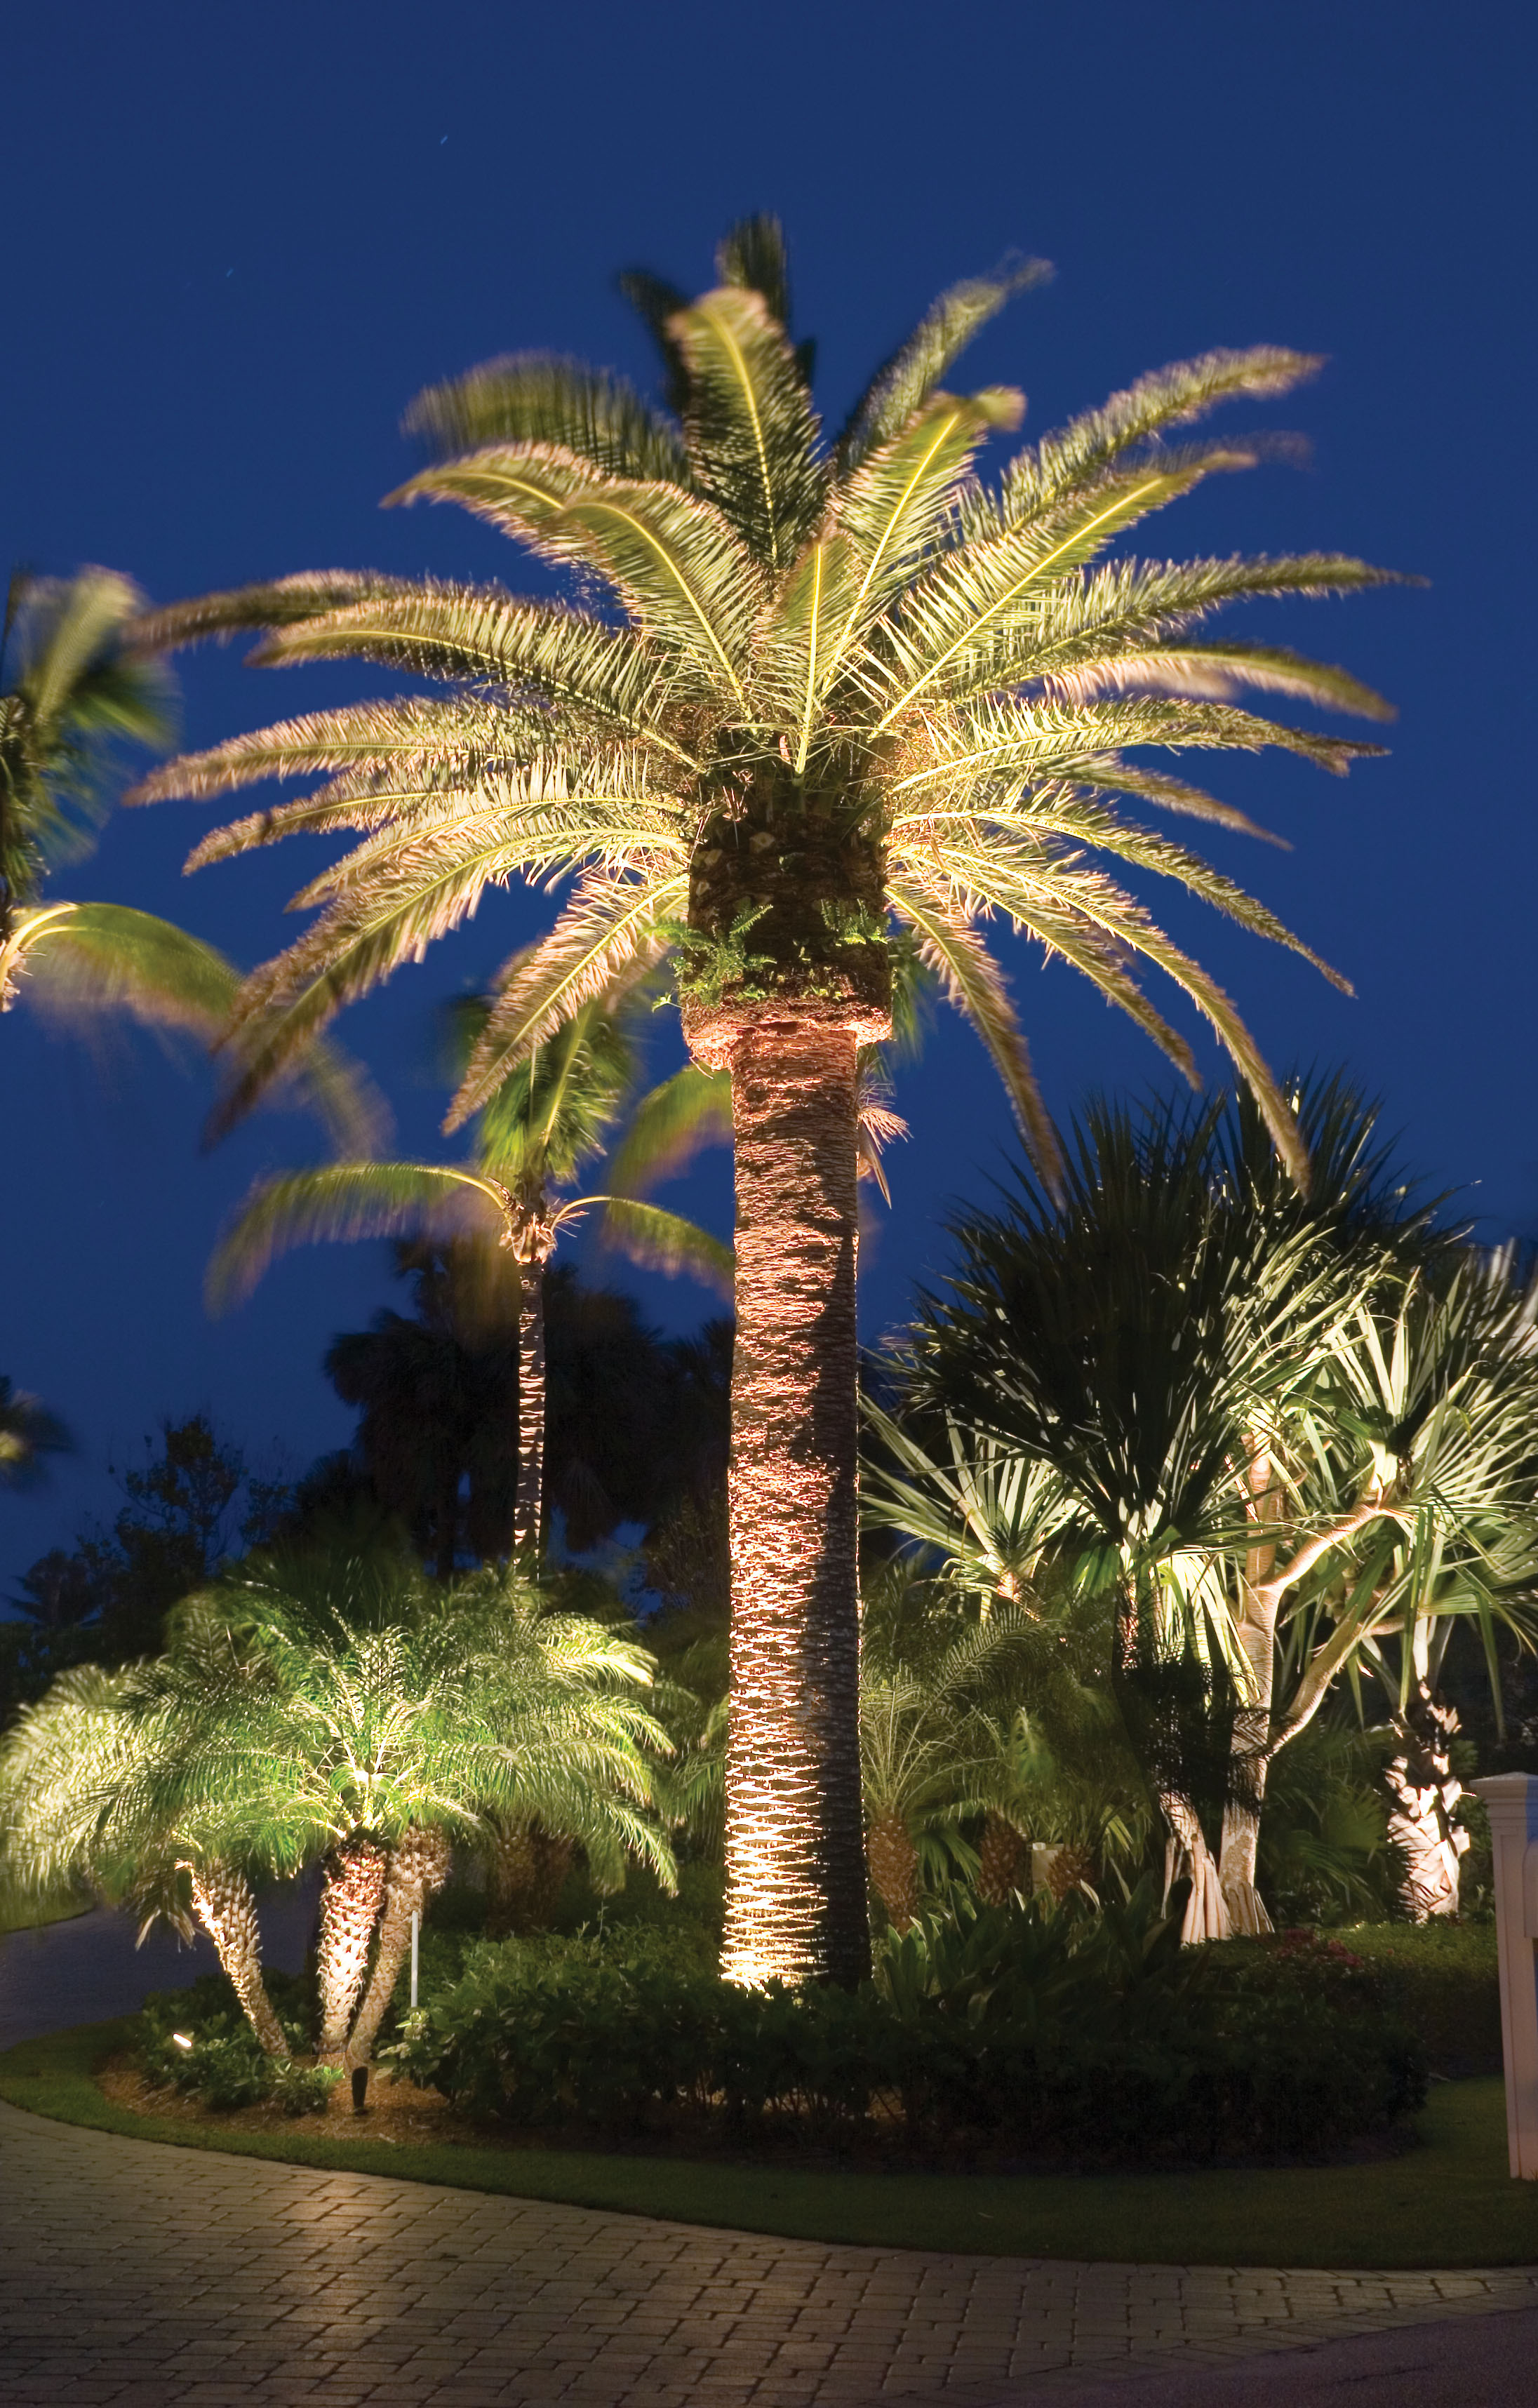
This Bismarckia demonstrates the tremendous growth rate palms can experience, requiring easy maintenance to be a major consideration during installation. Middleton claims four years ago the palm was the size of the Roebelenii seen in the image at right, but it has now grown to a roughly 40 foot tree. As a result, the palm was pushing against the two-year-old, 20-watt, 60-degree fixture and bulb. He recently adjusted and retrofitted this with a 35 watt, 60-degree luminaire.
PalmAnother option when it comes to effects is to light the palm fronds so the lighted side of one blade is visible while nearby blades are turned in such a way that the lighted side is not visible to the viewer. A contrasting light and shadow effect is created here as well. Once again, getting the fixture close to the palm is often the key to pulling this effect off.
Planning for future lighting upgrades during installation extends far beyond how the wires are laid. Installing a larger transformer than what’s needed (within reason) supports future wattage increases to adequately light new growth. However, an even greater priority than the transformer selection is using heavier gauge wire that will allow for future wattage increases. Transformers are much easier to adjust or retrofit than replacing every foot of buried wire.
Installation ChallengesPlacing the fixture so close to the palm exacerbates a major installation challenge inherent in palms: their fast growth rates. This creates problems at several points. Fixture: Placing the fixture so close to the tree puts it within easy reach of the palms root system, which Middleton claims can be “as thick as your thumb and like concrete.” The roots also knit together. As a result, fixtures can be swallowed or moved by the root system. Adjusting the lighting portrait to account for rapid growth can thus become a major challenge. Wiring: NEC recommendations state wiring should be buried six inches down, and this often (though not always) serves as a basis for local code. However, when attempting to run line to fixtures in the near vicinity of roots, their toughness can make achieving this very difficult. Also, mulching tends to make the roots climb, which effectively means line initially buried at six inches will be drawn even deeper. This makes maintenance access extremely difficult. Middleton advises simply doing the best you can. Another issue is entanglement in roots, which eliminates the slack needed later to move fixtures to account for growth. Finally, the need to hack through roots to move fixtures creates a risk of cutting the wiring.
Photometric charts can be an excellent guide for beginning landscape lighting contractors and source of extra precision and further guidance for more experienced individuals. This example relates beam spread angle to resulting beam radii at various heights. In other words, according to this graphic, to cover a palm canopy with a radius of 10 feet at a height of 45 feet, a fixture with a beam spread of 24 degrees would light the canopy end to end.
Meeting ChallengesFixture: Middleton makes a site visit every year to his installations to replace bulbs and move fixtures as needed to account for palm growth. Not only does this maintain the lighting portrait, it works as a great sales tool. You can point out that you’re planning for the future, looking out for the client in the long run. Finally, it provides an additional source of income, particularly key in today’s economy. However, this maintenance schedule requires planning during installation to make it practical. Wiring: First off, you’ll need to provide the slack to move fixtures about. If 10 feet is required, then install 15 feet. In Middleton’s case, he uses a 25-foot fixture lead. Also, make sure you route the wire out of the root zone as quickly as possible. This may mean taking very indirect paths to the nearest hub, but it’s worth avoiding the entanglement and other wiring threats palm roots represent. Another trick is to install a short length of conduit in the current and future root zone. This prevents entanglement while also protecting it from accidental cutting during any root hacking that may be necessary. Finally, install a heavier gauge wire then what is initially needed. This way the hardware is in place a couple years down the road when you need to up the wattage to account for increased palm height. This is another major sales point for several reasons. Once again, you’re planning for the future, thereby acting in the client’s best interest. You’re also doing so at your cost with no guaranteed monetary benefit in the future, as they could select someone else to update the lighting portrait. This encourages your perception as a trustworthy contractor with honest business practices. Not only does this improve your chances of getting the job, but it also increases the likelihood that you will get that future maintenance contract. Transformer: This is another piece of equipment you’ll want to at least consider installing to reasonably heavier specifications then needed. However, because it’s much easier to retrofit in then heavier wire, it’s less of a priority. Simply look at the cost involved to determine if this is a wise decision or not. It’s more likely to be warranted on a job with ten palms as opposed to fifty.
Once the optimal beam spread has been determined, the next step is to look for a luminaire offering the desired footcandles at a specific height. Adjusting wattage to account for height is key since illumination decreases by the reciprocal of the distance squared. For example, doubling the height results in one-quarter the illumination. This formula can be used to estimate footcandles at heights outside the range of the chart.
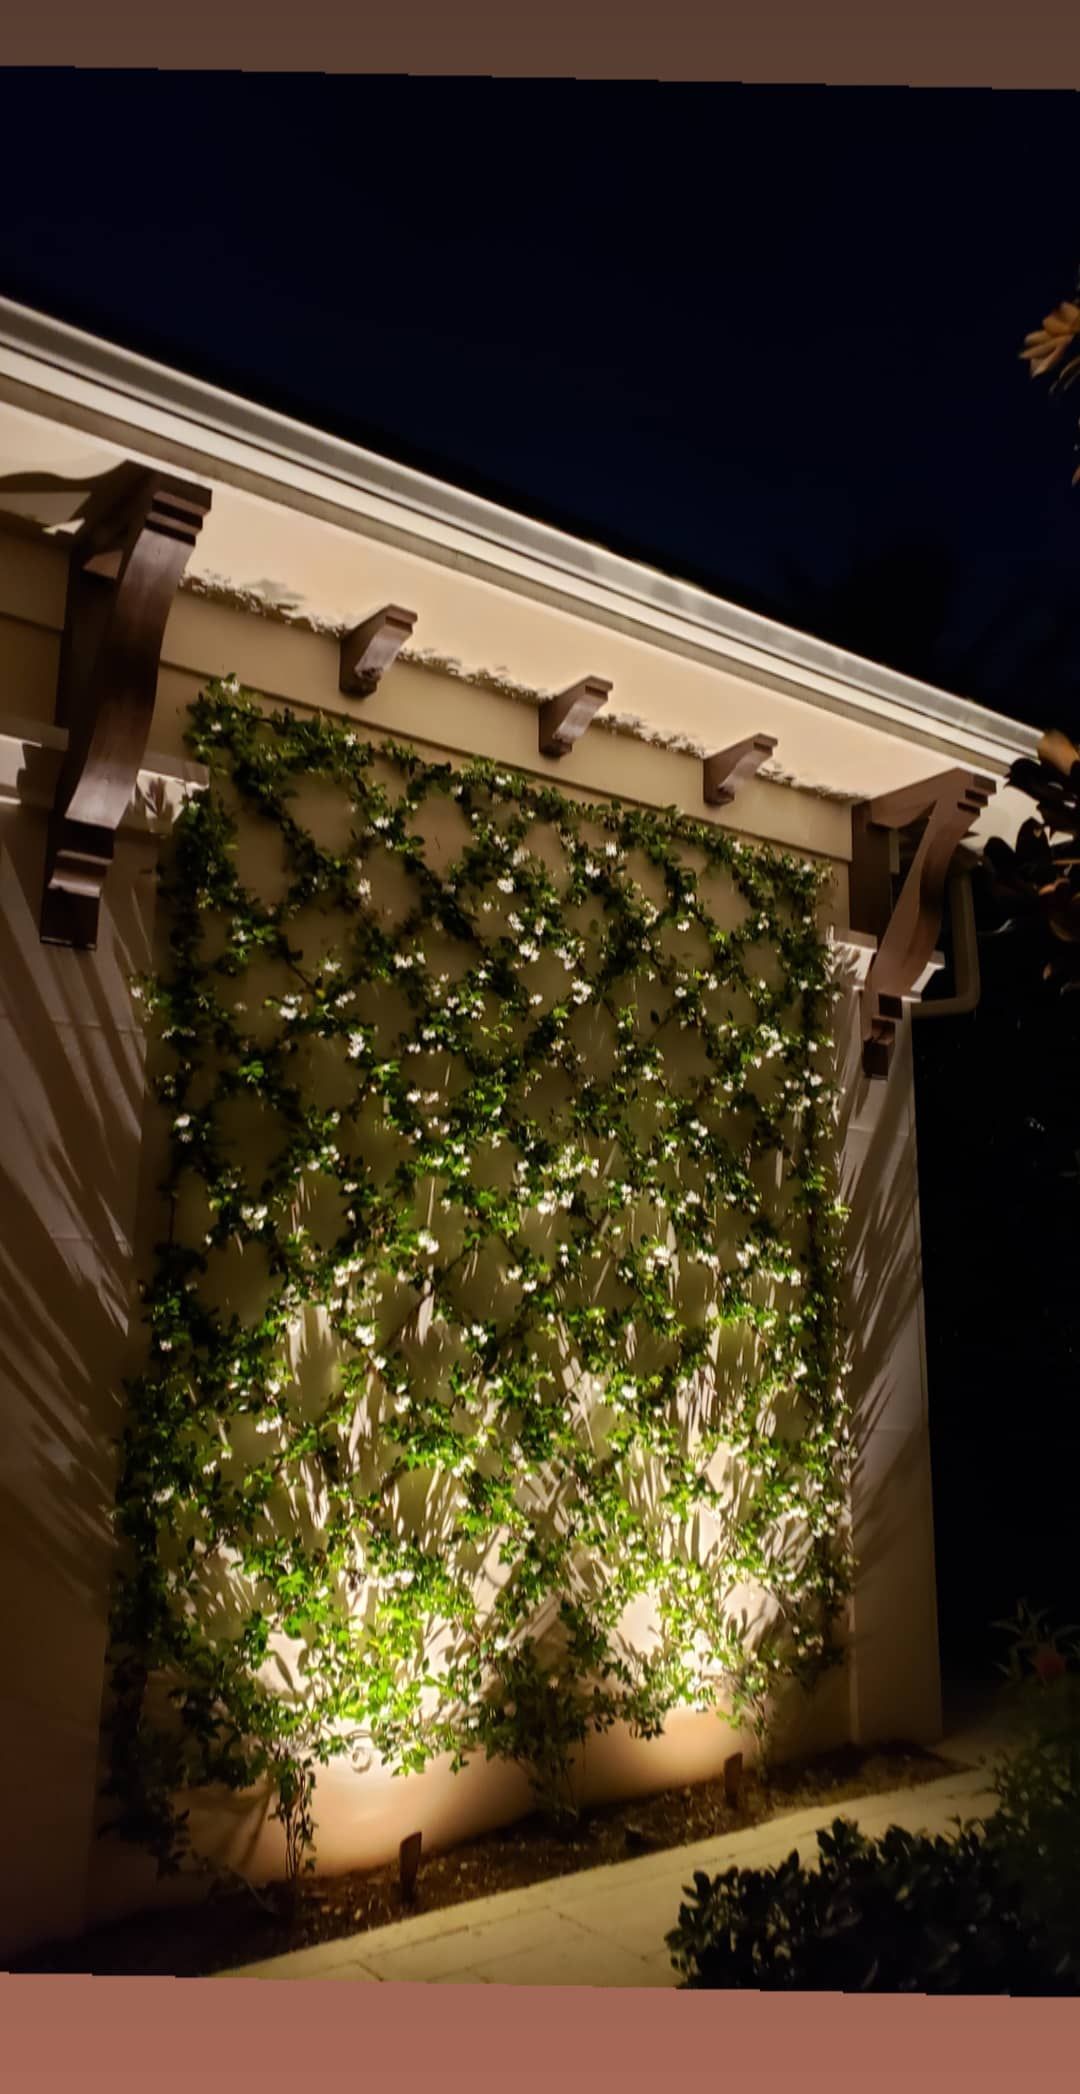
Final TipMiddleton also pointed out the importance of working with other trades if involved during palm installation. In his experience, the trees are often installed so close to buildings it’s impossible to adequately light the canopy without creating a hot spot on the adjacent structure. Working with the palm planters to arrive at the best possible installation for both trades is thus key. |
|||